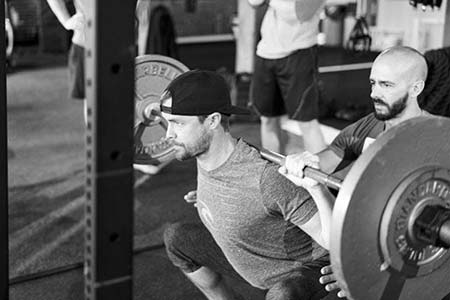
When Pavel and I wrote the SFL Manual back in 2012-2013, we decided to build it on top of what is taught at the SFG Level I Certification. Namely, the swing, get-up, goblet squat, and the arm bar. This article attempts to say more than just how to do them, but why you did them.
Prior to 2006, I saw very little use for kettlebell movements. In 2006, Pavel had invited me to attend his kettlebell certification in St. Paul. Prior to that cert my kettlebells had earned paperweight status except for a few training sessions. I was a powerlifter who had been competing for 20 years. What I learned at the kettlebell certification, changed how I trained. And why I trained.
One thing that I learned was when descending with the kettlebell squat, to use my hip flexors to pull myself down into the hole. Over the 20 years of powerlifting, I most likely had been doing this, but wasn’t conscious of it or knew why I was doing it. Now I did and I felt it!
Even though I had temporarily retired from competing in the sport of powerlifting and started playing semi-pro football, I was still training with the barbell and now the kettlebell. Putting into practice what I learned at the kettlebell cert with my barbell training made me a better football player, in both performance and injury prevention.
Students attending the SFL need to not only be proficient in performing four kettlebell movements; they need to understand why. This article will help share the why.

Swing
Prior to learning the swing, the kettlebell deadlift is taught at the cert. By teaching the deadlift, students not only learn to deadlift properly, but to go through their “checklist” prior to the weight coming off the ground. This is important and very useful because it teaches the student to be mindful with their training practice. It may take you 10 seconds prior to each repetition of the kettlebell deadlift before the weight comes off the ground. As you become more accustomed to performing the kettlebell deadlift, your ability to go through this checklist becomes faster and faster. This helps with the setup for the barbell deadlift, but also the setup with the barbell lifts in general.
The use of the hip hinge taught during the swing is imperative to the SFL student’s knowledge base. Understanding this key point will not only improve one’s deadlift progress, but it will save their back from injury.
Proper spinal alignment is another point that I, as a chiropractic physician, cannot emphasize enough while performing the initial setup for the kettlebell deadlift/swing. Using a cannonball with a handle is a lot less intimidating than a seven-foot-long piece of steel to learn this aspect. If the student has movement issues with the kettlebell, it is a lot easier to correct it than with a barbell.
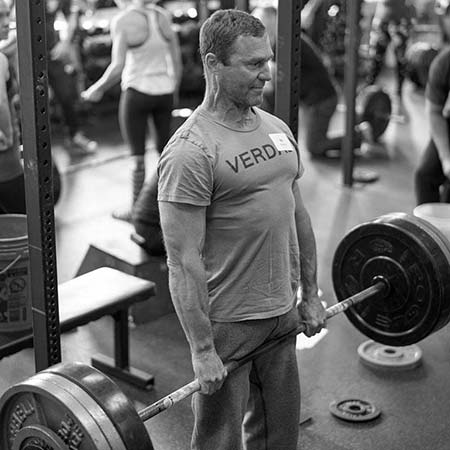
Last, but not least, is understanding the vertical plank position achieved at the top of the swing. This position is very similar to the position achieved at the top of the barbell deadlift. While the eccentric aspect of both movements is different, this vertical plank position while loaded is important to teach the student. Whether in a sumo or conventional barbell stance, the position is the same: feet rooted, kneecaps pulled up, glutes squeezed, abs tight, and lats tight. The head is sitting on top of the shoulders, looking straight ahead.
The Why of the Swing
Checklist → Setup of the deadlift
Hip Hinge → Proper spinal and hip alignment
Vertical plank position → Proper body position at the top

Get-up
This beautiful, strong movement could be written about in as many pages as Tolstoy’s War and Peace, but I will keep it shorter here. One of the most popular aspects of the get-up is shoulder packing. This is one of my favorite items of the get-up to teach. Once someone learns this aspect, I immediately go to the barbell bench press or the military press and demonstrate how it is done with these movements. Having this knowledge prior to the SFL is pivotal for them to understand the protection and help that shoulder packing gives the athlete while performing those movements. Even though the mechanism is different for each lift, the message still applies.
“Connecting the lat” is another huge aspect of the get-up. We talk about the latissimus dorsi muscle during the SFL. Not to isolate it, but to show how by using it properly, it can help an athlete training with the barbell get more out of their training session. By learning the get-up and practicing it prior to the SFL, one will start to understand how to engage it and keep it “tight” during the deadlift, for example.
Former Master Instructor Jeff O’Connor used to say that all you needed to train a high school athlete was the swing and the get-up. These 2 movements, learned properly, pretty much cover most of the movement patterns that a high school athlete will need. If you have the time and space, these 2 movements, practiced often, will get an athlete ready to perform barbell movements. More important will be the “why” they are doing them.
The Why of the Get-up
Shoulder packing → Bench and Military pressing safety and strength
Connecting the lat → Powerful antagonist to the pecs and the pressing muscles. In addition, strong anti-flexor of the spine during the deadlift
Goblet Squat
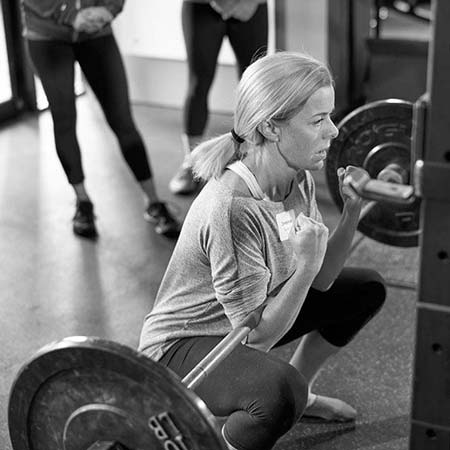
One of my favorites movements, not just from a strength aspect but also from a mobility perspective. The goblet squat is essential because of all the good nuggets of information that comes from doing them. At the SFL certification, we go over the 6 standards of the goblet squat that we expect the students to learn. These standards don’t just apply to the front squat, back squat, or the Zercher squat. They also apply to the bench press and the good morning movements as well.
The six standards are:
- Neutral spine—Your spine starts at the base of your skull and continues to the very bottom of your tailbone. Neutral spine refers to the position of your spine while standing relaxed. Not flexed, extended, rotated, or laterally flexed. Now maintain that position of the spine during the movement of the exercise.
- Heels and toes are planted—The foot is entirely on the ground. There will be varying degrees of load on the toes and heels, i.e. 25% toes/75% heels, etc., but the entire foot is on the ground.
- Knees track the toes—Simple yet hard to apply. Most people allow their knees to “cave” in during a squat or deadlift. Not healthy for many reasons. A few allow their knees to move outside their toes. Same thing. Leakage versus linkage as the force of the movement is applied.
- Biomechanical breathing match—While under load, and with the heavier loads of barbell training, holding one’s breath during the repetition is usually required to assist in the intra-abdominal pressure (IAP) raising high enough to protect the spine and generate enough tension/stiffness to complete the given task.
- Hips descend and ascend at the same rate as your shoulders—Enough said.
- Hips and knees extend fully on the top of the squat (also deadlift, good morning, etc.)—again, enough said.
The above standards usually take some training and practice to accomplish. Practice and practice some more.

Arm Bar
I remember at my initial kettlebell cert with Pavel that he said during the teaching of the arm bar to make your collarbones longer. As a doctor, I’m thinking that is impossible. The length is already set by our physiology. What I later learned was he was trying to get us to visualize this lengthening, done along with pinching our shoulder blades together to help the stretch.
The arm bar, done properly, will help to greatly increase one’s thoracic and shoulder girdle mobility and will stretch the pecs and lats. Doing this will allow the SFL student to get into a better setup position for the front squat, back squat, bench press, and the military press. Obviously, it will also help the athlete’s overall health. Improved thoracic mobility is much needed in our society today.
Summary
These four vital components of the kettlebell world are very much needed and wanted by someone who will be training with the barbell. Hopefully, I was able to explain the “why” of using these movements.
The SFL Certification student needs to learn these kettlebell movements before attending to not only get the most out of the material in a cerebral sense, but also a physical sense. This time it is on the student to learn these four movements.
These are the acceptable ways of learning the required movements:
- Watch StrongFirst videos for a demonstration of the movements. Practice them. Practice some more.
- Contact an SFG Instructor for instruction. To find one near you, go here.
- Attend a StrongFirst Kettlebell Course.
- Attend an SFG I certification.
- Any or all of the above.
I look forward to meeting you at a future SFL Certification! Stay strong!